How to take a screenshot in Windows
A screenshot is a photo of the items on the screen taken with the same device. In this post we will see how to take a screenshot on your Windows PC.
Also known as a screenshot, it could be said that the device takes a self-photo or selfie. Captures are stored as images on the device. This feature has been around on multiple platforms and devices for a long time. Despite this, the question of how to make a screenshot is still one of the most frequent searches on the Internet.
Here we will focus on how to take screenshot on PC or Windows device. Although the way you take screenshots is very similar in different versions of Windows, the procedure and features may vary a bit between devices.
How to capture screen in Windows XP
Basically, there are two ways to capture screen in Windows XP:
Pressing the Print Screen key will take an image of your entire screen, storing it on the Windows clipboard. You must paste this image into an image editing program such as Paint. After pasting your image in Paint you can save it as a file in the image format you want.
The other way is to use the Alt + Print Screen key combination . You must press these two keys at the same time. In this way you will be able to capture only a specific window, that is, the active window when using the combination. Similarly in this case you must open Paint, paste the image and save it.
The Print Screen key may appear on your keyboard abbreviated as PrntScr or PrtSc. In most cases, this key is located in the upper right.
How to take a screenshot in Windows 7 and Windows Vista
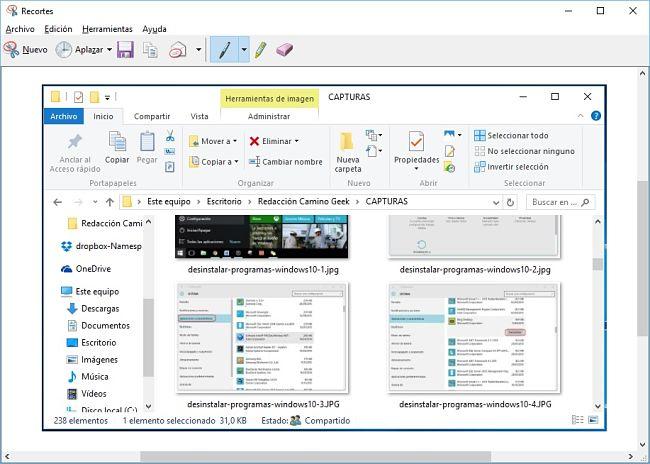
In Windows 7 and Vista you can use the same Print Screen key procedures as in Windows XP. But in these cases you can also use the practical Snipping Tool . This is a utility or feature available in all versions of Windows starting with Vista, except for the Starter and Basic editions.
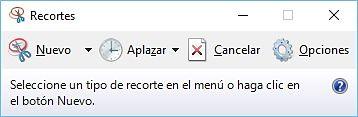
To open this tool, go to the Start menu > All Programs> Accessories and in the list of utilities select Snipping. The tool allows you to take screenshots of specific areas of it. You just have to open the program and click on New ; You select the area on the screen you want to capture and the image will be taken. You can then save your capture with the Save Snip button .

How to take screenshot in Windows 10 and 8.1
Windows 10 and Windows 8 / 8.1 users can use the same methods described for Windows 7, Vista and XP, including the Snipping tool . You can easily find the Snipping program by typing it into the search field next to the Start button in Windows 10 and on the Start screen in Windows 8.
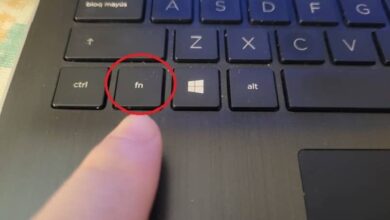
On a Windows 10 or Windows 8 PC or laptop you have the extra ability to take screenshots that are automatically saved to a special folder. Pressing the Windows + Print Screen keys simultaneously captures the entire screen. This image will be automatically saved to the Screenshots folder within the Images library .
How to take a screenshot on a Windows phone or tablet
On a Windows tablet you can take a screenshot by pressing the Windows button and the volume down key at the same time. You can find your capture in the Screenshots folder in the Images library .
In Windows 10 Mobile and Windows Phone 8.1, you can capture the screen by simultaneously pressing the power button and the volume up key. On Windows Phone 8 devices you can capture by pressing the Start and Power buttons at the same time. You can find your captures in the Screenshots album within the photos application.